
Roman's 650b Sam - 87cm PBH
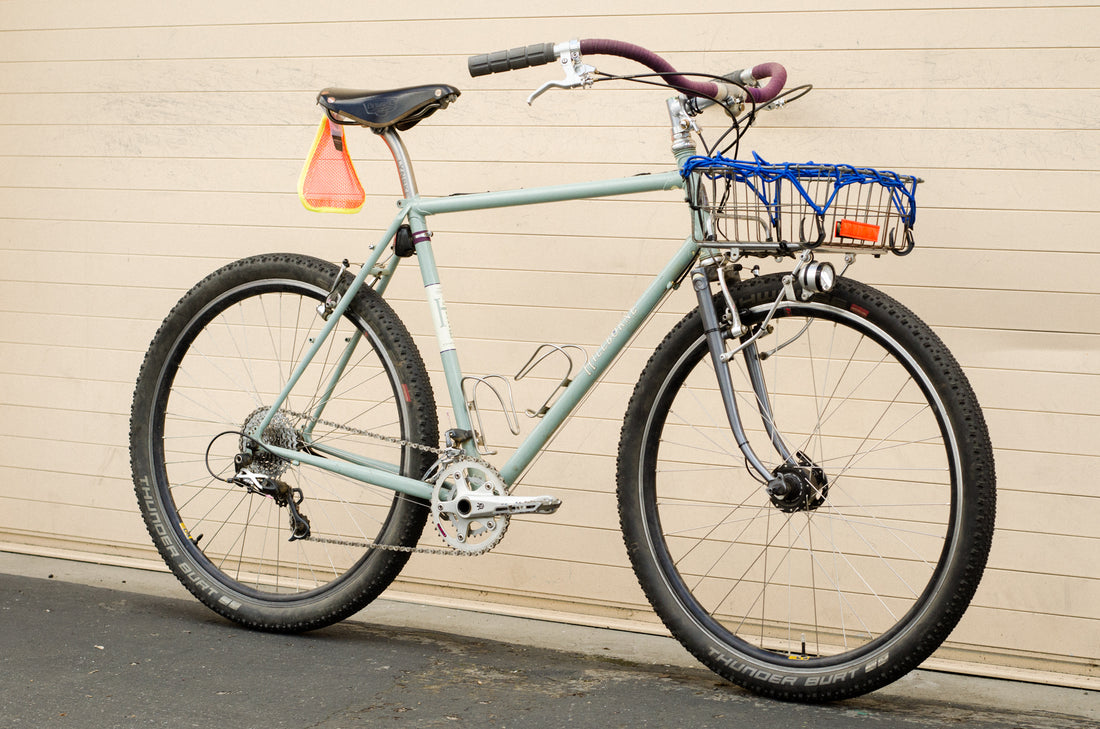
Roman here! This 55cm Sam is the second bike I got after starting work at Rivendell almost 7 years ago. The frame started it's life as a 700c caliper Sam and has had various drop bar and upright cockpits, been set up 1x10, and rolled on 700x33-47mm tires. It's seen lots of fire roads, done plenty of camping, and even one brevet. I've loved it in every iteration and if I only could have one Rivendell, it would be this one.
That said, I suffer the affliction of being a obsessive tinkerer -- a blessing and a curse that I think many of you may relate to. I get a fun idea in my head and have a hard time putting it down. So, when I realized a blemmed 52cm Clem fork would pop right into my Sam, I couldn't help but dive down the rabbit hole that led to this beautiful frankenstein. I dented the chainstays to increase my rear tire clearance and then shipped the frame off to a local build to have canti posts brazed on for 650b rims -- placed so I could still mount a 700c wheelset with the pads all the way at the top of the slot. Again, it's gone through several cockpits and a few drive trains, but I'd say it's pretty locked in at this point...though I've been itching to put a Nitto Face-plater stem on there...
---------------------------------------------------------------
Roman again! A customer asked me about what I did with my tail light and I figured I'd include it here for those interested -- the light started its life as a B&M Secula Plus fender dyno-light. Inspiration comes from John P. -- he flipped an even earlier B&M tail light and it made me want my own.
Read on for steps below -- otherwise disregard! Also, these should make more sense with the light in hand.


